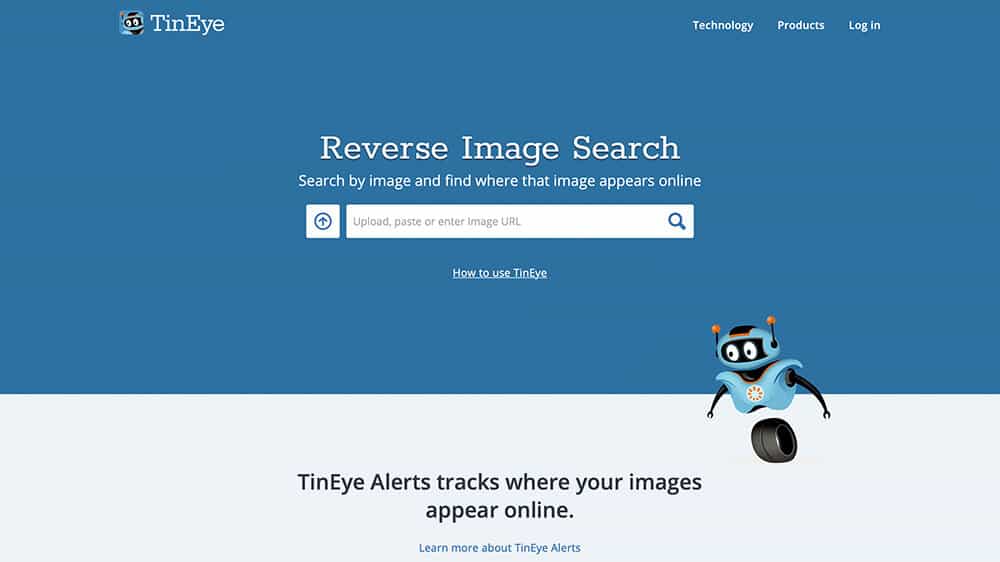
If you’ve ever come across a picture on the internet and wanted to learn more about it, such as where it came from, how many times it’s been used, or if it’s been altered, you know how tough it is to find this information. Image Search Tool in Reverse, TinEye shows you where a photo or image has been shared online.
This tool makes tracing the image’s original source a breeze. Its Browser extension adds a Search Image on TinEye option to the right-click menu, making it even easier to reverse search photos.
TinEye, fortunately, makes this a simple operation and is the ideal tool for locating the original source of an image as well as other forms of data. TinEye does reverse image searches by gathering information from original photographs (that you supply) and then displaying the results in seconds.
In fact, you’ll be able to see just how long TinEye took to find your results, as well as how many photographs it looked through. With TinEye, you can also see how a picture has been modified and compare it to the original. TinEye can also assist you in finding an image in a larger size. All photos’ dimensions and file sizes can be viewed.
Why Don’t You Want to Save a Copy of the Image?
You want to make sure you can use a picture you find on your website, whether it’s through a search or in a site template. It’s possible that the image is copyrighted, or that it’s under a Creative Commons licence with specific usage guidelines. Furthermore, your design may require a different image size than the one you obtained online. You can create other sizes, crop the image, and change the orientation of the image by locating the original source of the image. That is why you are interested in reverse image search engines.
How to use TinEye to search for an Original Image Online
TinEye is completely free to use (for non-commercial searching). To begin, you must first find and upload an image.
Trying to Find Pictures
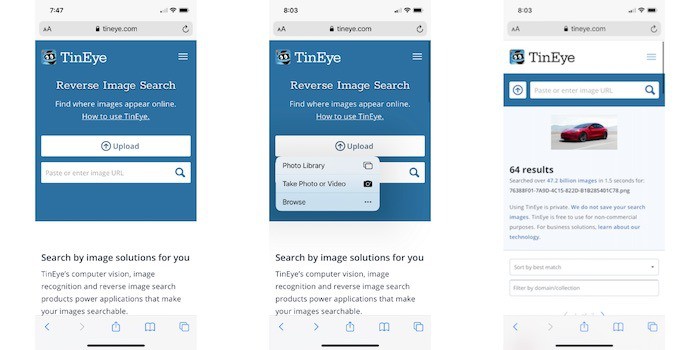
On TinEye, there are three ways to do a reverse image search right now. You’ll receive the same outcome regardless of which approach you use. It’s all a matter of personal taste and convenience. In your picture collection, it finds duplicate and modified copies of an image. It is ideal for detecting duplicate photographs, verifying images, and implementing reverse image search solutions.
Upload a photo
You can search your computer for an image and upload it to the site. TinEye will conduct a search and present the results to you.
Enter the URL here
You can either specify the image’s URL or the URL of the page that contains the image. TinEye can utilise one of these to find and display the image on the web.
Make use of the browser extension
Finally, you may run searches on the fly using browser plugins for Firefox, Chrome, Internet Explorer, Safari, and Opera. When you come across an image, right-click it and pick “Search Image on TinEye” from the drop-down menu. In a new tab, your findings will appear. They also have bookmarklets if that’s what you prefer.
Page of Search Results
This is the page that appears once TinEye has completed a search. If there are no results, TinEye hasn’t crawled the website or page where the image appears. You’ll want to return often, as they’re continually crawling new pages and adding fresh photographs to their database. When you look at the “Most Changed” results, you will see some very interesting things. Here you can find a variety of image modifications as well as some fascinating editing work done by other people.
The results should be shared
TinEye’s “AddThis” feature allows you to share your search results on Twitter, Facebook, email, and a variety of other platforms. By selecting one of the share choices on the side of your findings, you can do so. Individual objects can also be shared by clicking “Link” just beneath the image.
View the original source
TinEye will display the image’s actual link as well as the website where it can be located. This is useful if you need to attribute an image’s original source or if you need to find the original source of a picture. Note that clicking “Link” beneath an image does not reveal the image’s source; instead, it provides a link to the result on TinEye.
Images to Compare
A “Compare” link appears beneath each image, allowing you to compare your uploaded image to TinEye’s results. You can use the “Switch” button to switch between the two and see what differences there are. This method works best when looking at the Most Changed and Largest photos, as they are the ones most likely to have been modified.
Last Thoughts
TinEye is a useful tool to have on hand, and the extension makes it very simple to find images and learn more about them. There is nothing to lose by using this tool, and it will also help you locate some intriguing versions of photographs that you might use in your posts. What are your thoughts? Is TinEye necessary, or can you get by without it?