3 Simple Steps For Setting Up Push Notifications For Your Blog. Doesn’t it seem like you’re doing everything you can to attract visitors to your opt-in forms while simultaneously attempting to avoid clogging up your website and offending your valued online audience?
You undoubtedly already know that blogging is a business, so whether it’s a sidebar opt-in, an exit-intent pop-up, or a Welcome Mat, it’s all a balancing act.
One of your main goals should be to increase your email list because it will enable you to continue communicating with and marketing to your visitors even after they leave your website.
How To Set Up Push Notifications For Your Blog
In this article, you can know about Push Notifications here are the details below;
What if you had another means to communicate with your visitors? Even better, what if you could show a notification to a user right in their browser, even if they aren’t currently on your website? similar to the daily notifications you receive on your smartphone.
That’s not true if it sounds too wonderful to be true.
Recent versions of popular browsers like Chrome, Firefox, and Microsoft Edge include the “Push Notifications” or “Web Push” feature.
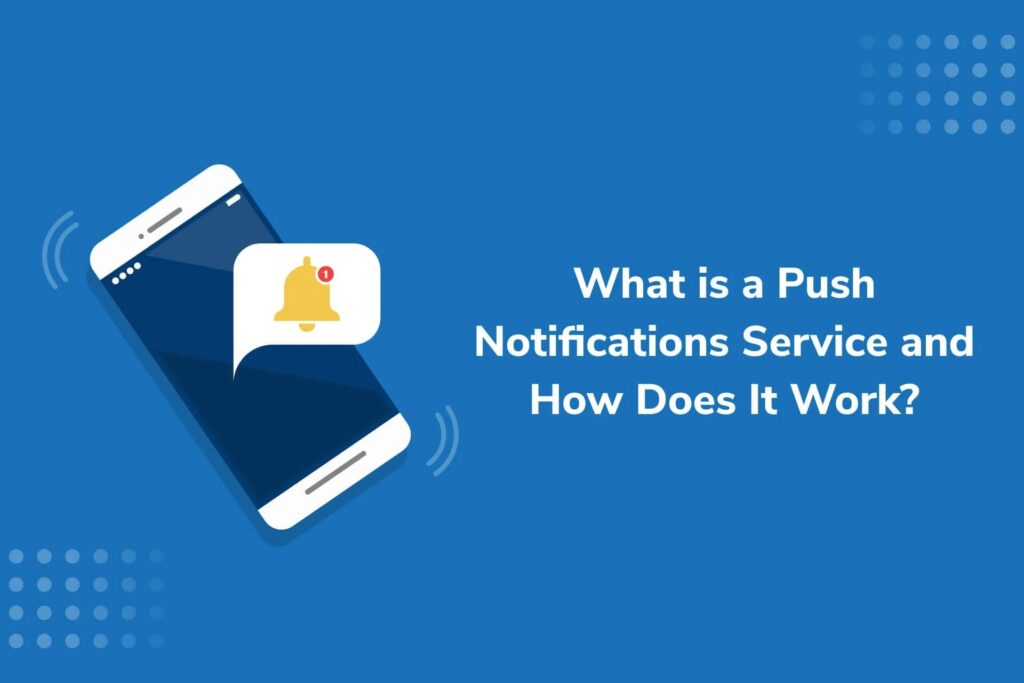
Push Notifications – the “what” and “why”
Have you experienced this?
Something appears as you’re browsing a blog. It’s merely a message from your browser notifying you that the website wants to give you push notifications; it’s not a flashy, obnoxious pop-up. Although each browser shows the notification slightly differently, they often seem as follows:
When you click Allow, you give the website’s owner permission to send you clickable, in-browser notifications. These can include a wide range of items, such as discounts, exclusive offers, thrilling news, or even just a notification that the website just posted a new blog entry.
However, how does that operate?
After enabling push notifications, you are no longer required to be on the website to get them; you might even be on a separate website. On your desktop or mobile device, a pop-up notification will still appear. It is that simple.
Why have push notifications enabled on your site?
They’re simple and quick, in two words.
It takes time to build a following of active followers. Every time they write a blog article, many bloggers feel pressure to produce an excellent lead magnet or enhance their content. And that takes a lot of time for a blogger. Also check twitter tools
Wouldn’t it be fantastic to discover a method for quickly building a list of site visitors interested in receiving notifications from you, with minimal effort spent on setup?
Push alerts can help with that. Visitors are not required to repeatedly click or type their email address.
Push notifications simply require one click. By doing this, you make it simple for your visitor to sign up for your mailing list and begin receiving notifications from you.
Please note that this “marketing list” is actually a list of browsers who have consented to receive push alerts from you rather than an email list.
But don’t let that get you down. Push alerts may possibly produce greater results than your email marketing plan. Push alerts can increase conversion rates above 30%, which are more than the 1-4% that standard email funnels produce.
Additionally, “Browser Push Notification ROI is 2x to 10x [that] of Email,” claims PushEngage.
As a result, adopting push notifications alone outperforms email in terms of return on investment. These are excellent stats for bloggers who want to make money from their website.
Pros and cons of using push notifications
Consider the benefits and drawbacks of implementing push notifications on your website.
Pros
The fact that push notifications are a relatively new idea implies that consumers haven’t yet developed a tolerance for them. The lack of banner blindness for a push notification means that it is now a very successful tool.
Adam Connell, for instance, experimented with push notifications on UK Linkology. When marketing new content, the CTR (click-through rate) was between 15 and 25 percent.
Push notification from UKLinkology
Another benefit is that push notification technology is compatible with Chrome and Firefox for Android (although not with iOS or Safari currently). Being able to reach that audience on mobile devices enables you to deliver notifications without having to pay a developer to make a mobile app for you.
The ability to click on notifications to direct a visitor to a landing page is a last benefit. You can quickly create a landing page for each notice using popular landing page plugins like OptimizePress, enhancing your chances of generating sales or email subscriber numbers.
Cons
The use of push notifications on your website has several drawbacks. The main disadvantage is that it can lower your email opt-in rate.
Visitors are greeted right away by a message inviting them to enable push notifications. Various lead generating pop-ups may be displayed to them as they surf your website, and an exit intent pop-up may be displayed to them as they try to depart.
That’s a lot of potential distractions!
Yes, you can eliminate some of your lead generation pop-ups, and doing so might be a nice idea to try, but you’ll still want to make an effort to get the user’s email address at some point as push notifications don’t provide it.
Once you start using push notifications, you can see a decrease in email subscribers.
Some visitors won’t want to sign up for all of your products, but from the perspective of ROI, this could be to your advantage as, as we previously mentioned, push notifications have the ability to provide a 2x–10x greater ROI.
The possibility of a push message interfering with and confusing your visitors is one more drawback. Your visitor’s attention may be diverted and irritated by the initial confirmation box as well as further reminders that appear while they are online, using social media, emailing, or even writing a blog post.
Adam’s note: Since Elna originally published this post, I’ve discovered two additional problems.
1) Changing push notification service providers – I’ve only used Pushengage and Pushcrew so far; both tools let you export your subscribers, but only if you have a paid plan and FCM keys configured for Google Chrome subscribers (Firefox subscribers are already portable and do not need keys).
However, there is a catch: for this to function, your site must have HTTPS (SSL) enabled.
For those lacking HTTPS, the PushEngage team has a substitute.
Instead of switching over your complete site, the option entails setting up a sub-domain for HTTPS; further information may be found in this post from PushEngage.
These ‘keys’ are for Google’s Firebase Cloud Messaging platform, which is designed to function with browsers other than Chrome. I’m not really certain, though, so if you know the solution, please share it with us in the comments.
Unfortunately, it does imply that you will be forced to utilize a single vendor if you use a free account or ignore the advice I cited above.
2) The browsers of your subscribers may change – Push notifications are only compatible with the browser or device that the subscriber has selected. As an illustration, I have two PCs. I won’t receive updates from a website if I subscribe to it on my PC and Mac. And if I switch PCs, I probably won’t be able to access them on the new one unless I re-subscribe.
Although this is undoubtedly a disadvantage, it is not a deal-breaker. especially given the high opt-in rates for push alerts. Not all subscribers, but some, are likely to re-subscribe when they visit the site again.
Before returning to Elna, allow me to leave you with this:
Do not be discouraged from trying push notifications by these problems. They may not be as tried and true as email marketing, but they have a lot of potential. They are a terrific supplement to any lead generating plan, but I would never use them as a replacement for email marketing.
How to get started with push notifications
Push notifications are not something that the typical blogger can “do” totally on their own, unlike sending an email or uploading a PDF file to their blog and providing the link to their viewers.
It’s simple to add the code to your website, and some well-known providers even have WordPress plugins, but you’ll need a push notification service to actually send out the notifications. similar to ConvertKit or MailChimp, two email service providers.
Fortunately, if you have fewer than a particular number of push subscribers, some push notification services offer a free plan, allowing you to get started without spending any money.
Get started with PushEngage
We appreciate PushEngage’s Forever Free plan, which is available to up to 2,500 customers. For both desktop and mobile use, PushEngage is compatible with a number of browsers, including Firefox and Chrome.
You can implement push notifications in under five minutes, regardless of whether your website is HTTP or HTTPS.
Additionally, you’ll have reduced unsubscribe rates and improved click-through rates with the flexibility to create targeted notifications and customized segmentation, including by geolocation.
Utilizing a welcome notification for new subscribers is one recommendation made by PushEngage. It’s a good idea to treat your push subscribers similarly to visitors that opt in to download your lead magnet and get a confirmation email. Also check Email Marketing services
Visitors may find it confusing if they click on a pop-up and nothing happens. Did they press the appropriate button? Was it successful? Next, what?
Having that brief welcome message can make things clearer for new subscribers.
For your blog, setting up push notifications only requires three simple actions.
1. Set your website details, welcome message and image
Your free trial will begin once you sign up, and you’ll then see the PushEngage dashboard. To check your site settings, scroll down.
The only thing left to do is set your blog’s brand image if all the fields are accurate.
site update push engage
If you continue to scroll down, you will see the standard welcome message template as well as the actual notification that is sent to a user who has signed up for your push notifications.
2. Configure your subscription box
Your push notification subscription box will be displayed exactly as is if your site is safe (HTTPS). The notification’s appearance or language cannot be altered.
However, you have more control over how and where your copy is placed if you have an HTTP site.
For your discussion box, PushEngage offers four alternative possibilities. They advise using the Single Step Optin because it will probably result in more subscribers.
3. Add the JavaScript to your website
You’re in luck if your website is powered by WordPress! Simply download the plugin, and it will automatically add the JavaScript for you. Then, in order for your notifications to function, you must create an API key.
Your API may be found under Settings > Get API Key.
IAP key
From here, enter your API key into the PushEngage plugin. You’re done now!
Your notification will appear when you visit your site.
There are a couple extra procedures if your website is HTTPS. However, if you follow PushEngage’s directions, it’s virtually as simple.
Wrapping it up
This new technique is called push notifications. It will be fascinating to notice how things progress in this area, but for now, being an early adopter has nothing to lose and everything to gain.
It’s worth a shot if you understand the fundamentals of blogging.
You’ll be astonished at how simple it is to get started when you sign up for one of the tools mentioned above.