
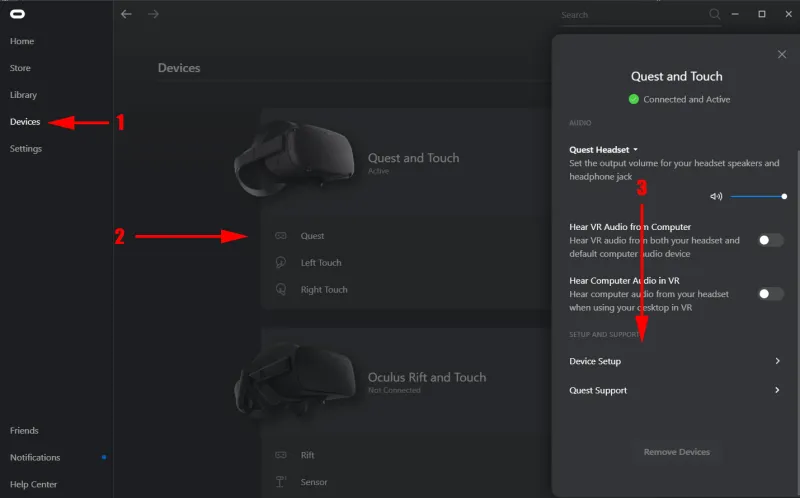
Oculus Link is a good way to play games on your headset that isn’t available in the Oculus shop. It’s a simple way to broaden your virtual reality game options. To use Link to connect your headset, you’ll need, well, a link! The Facebook Oculus Quest 2 is a wonderful standalone headset.
The Oculus Quest 2 shop has a lot of native content, but one of the best aspects of the Quest and Quest 2 is their ability to play PC VR material while connected to a VR-ready PC. To put it another way, a cable. The link cable is sold by Oculus, but it’s rather expensive, so you don’t need to spend that much.
In reality, any USB 3, USB-C, USB-A/USB-C, or USB-A/USB-C cable will suffice. Make sure it’s long enough to reach your play area from your PC’s selected port. With it attached, you’ll want to be able to spin in a circle! This can be done in two ways: wired and wireless. First and foremost, there’s Oculus Quest 2, Facebook’s official wired approach that requires a USB cable.
However, there are more complex wifi choices, such as Air Link, Facebook’s official wireless option, and Virtual Desktop, a third-party app. Below, we’ve explained what you’ll need and provided setup instructions for all three options, with a focus on Oculus Link. We’ve prepared a simple how-to description for each wireless option and then linked to our other, more thorough tutorials for those ways, if you need them.
What is the best way to set up the Oculus Quest 2?
You’ve just received your new Oculus Quest 2 VR headset and are eager to put it to work. We’ll walk you through how to set up the Oculus Quest 2 in five simple steps because the setup can be challenging. In five easy steps, you can set up Oculus Quest 2 on your computer.
We’ll go over the following steps in this article:
- Step 1: Open the package.
- Step 2: Download and install the Oculus app.
- Step 3: Insert your VR headset.
- Step 4: Enable Quest 2.
- Step 5: Put on your virtual reality headset.
Step 1: Take the VR headset out of the package
The Oculus Quest 2 comes with a manual, a VR headset, two controllers, a charger, a charging cord, and a spacer for those who wear glasses when they open the box. The first thing to do is make sure the Oculus Quest 2 is fully charged with the charger and charging wire that came with it.
Step 2: Download the Oculus app
- Go to the Google Play Store or the Apple App Store on your phone.
- Search for “Oculus app” and download it from the Oculus website.
- After that, connect with your Facebook account and set up the app.
- Do you have a Facebook account but don’t know how to use it?
- Make your own.
- In the app, you can now build your Oculus profile.
Step 3: Insert your VR headset
- Switch on the Oculus Quest 2 and place it next to your phone.
- Make sure your phone’s Bluetooth is turned on and use the Oculus software to pair it with the VR headset.
- While the app is connecting, do not close it.
Step 4: Prepare for Quest 2
Put on the virtual reality headset and follow the on-screen instructions. You’ll also connect the headset to the WiFi during this phase.
- Following that, Quest 2 will begin updating its software.
- When the update is complete, the VR headset emits a sound.
- During this time, keep the Oculus app open.
Step 5: Open the Oculus Quest 2 application
The Oculus Quest 2 has been configured and is ready to use.
VR-Ready Computer
You’ll also need a VR-ready PC in addition to your Oculus Quest headset. To determine if your PCs satisfy the minimal requirements for Oculus Link, go to Facebook’s Oculus Link compatibility page. Also, make sure that all of your hardware is compatible with Link; not everything is (yet). The system requirements will vary depending on the game—certain PC VR games will require more powerful hardware than others, so be sure to check the game requirements as well.
Cables
You’ll need a USB-C connection to connect your Quest to your PC for Oculus Link. There is no need for a cable with Air Link and Virtual Desktop because they are wireless (and thus potentially less dependable) alternatives. The link will work with the USB-C to C cord that came with the original Oculus Quest (for either headset).
You can connect it directly to your computer’s USB-C port if it has one. If not, you’ll need a USB-C to A adapter — but make sure it’s from a reputable brand, as Oculus Link has been known to behave strangely when used with less trustworthy gear. Because the Oculus Quest 2 doesn’t come with a long enough cable for compatibility with Oculus Link, you’ll have to purchase one separately.
For $79, Facebook sells an official 5m optical cable that is thin and flexible. The official cord is more expensive, but it is guaranteed to be reliable. Any USB C to C cable that meets the USB 2.0 specification should work as well (or you could use a USB-A to C with an A to C adapter, both of which need to be at least USB 2.0). The cable should be at least 3 meters long, and ideally 5 meters long if you want the most range of motion. If you’re still hesitant, we have a comprehensive instructions on how to make an Oculus Link cable.
Software
Download the official Oculus app, which will run Oculus Link and allow you to play PC virtual reality games on your headset. It’s labelled as Oculus Link setup software on this page. If you want to play any of the material on Oculus Link, you’ll need to download Steam and install SteamVR first.
Creating Connections
After that, you’ll need to open the Oculus app on your computer. If you don’t already have it, you can obtain it for free here. Install the PC version, start it up, and put your headset on. After that, connect the cord to your PC and then to your headset.
Put on the headset
A prompt will appear requesting you to activate Oculus Link. Wait a few seconds after clicking Enable for the Link environment (a little apartment) to load.
Using the Menu to Launch
Don’t worry if the prompt to activate Link does not display for whatever reason. You can always do it manually as long as the cable is connected and Oculus is installed and operating on your PC.
- Click the Oculus button on your right controller to do so.
- With the menu open, go to Settings and look for the “Oculus Link” option.
- You can enable the connection by clicking on it at any moment using the same dialogue as before!
- You’ll be asked to confirm your decision.
- Using the menu or unplugging and replugging your cable can help you get back in touch with someone.
- You’ll be prompted if you wish to automatically relaunch Link in this manner.
You are free to arrange this residence however you want. Let us know what kind of design you have in your Link room! The Oculus Link adds a lot to the Quest 2’s standard functionality. Which of its features is your personal favourite? The Link apartments are fantastic!